Reverse Engineer Anything with AI: A Practical REA Tutorial

What Is REA (Reverse Engineer Anything)?
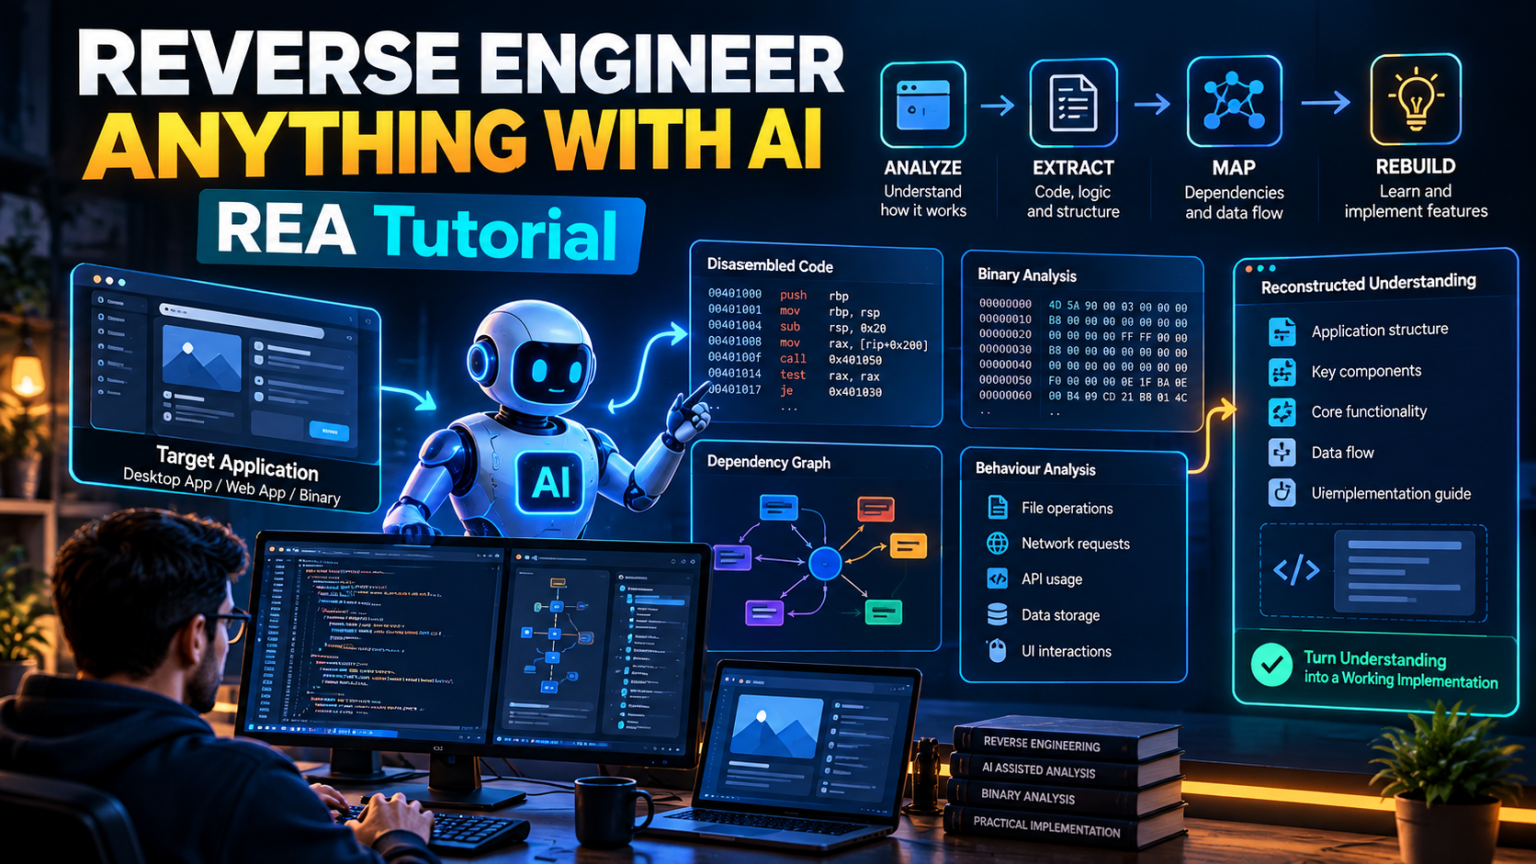
REA is a toolset that helps AI coding agents investigate software, from application behavior to lower-level code and native binaries. It connects an agent to reverse-engineering capabilities through a Model Context Protocol (MCP) integration and guided investigation workflows.
For example, imagine you find a search feature in a desktop application and want to understand how it works. Instead of guessing its implementation, you can ask an AI agent to investigate the relevant components, trace the logic, explain the evidence, and help you implement a comparable feature in your own project.
REA’s investigation workflow broadly follows three stages:
- Decompile and inspect: Recover useful information about a target, such as code, strings, function names, and application structure.
- Understand: Trace relevant functions, dependencies, and behavior to develop an evidence-based explanation.
- Recreate: Use those findings to build and test your own implementation.
REA does not magically recover the original source code of every application, and its capabilities depend on the target, supported tools, and configured analysis environment.
Why Developers Are Interested in REA
Traditional reverse engineering can require substantial experience with disassemblers, decompilers, debugging tools, and application architecture. REA aims to make this process more accessible by letting an AI agent coordinate parts of the investigation.
Potential benefits include:
- Understanding unfamiliar codebases and application components.
- Investigating software when original source code is unavailable.
- Exploring JavaScript applications and Electron packages.
- Analyzing supported native binaries with compatible analysis tools.
- Tracing function relationships and dependencies.
- Producing explanations that reference supporting evidence.
- Using the results to develop a new feature with an AI coding assistant.
Important: REA is an investigation aid, not a substitute for testing, source-code review, or professional security analysis. Its conclusions should be checked against the evidence it provides.
Requirements Before You Start
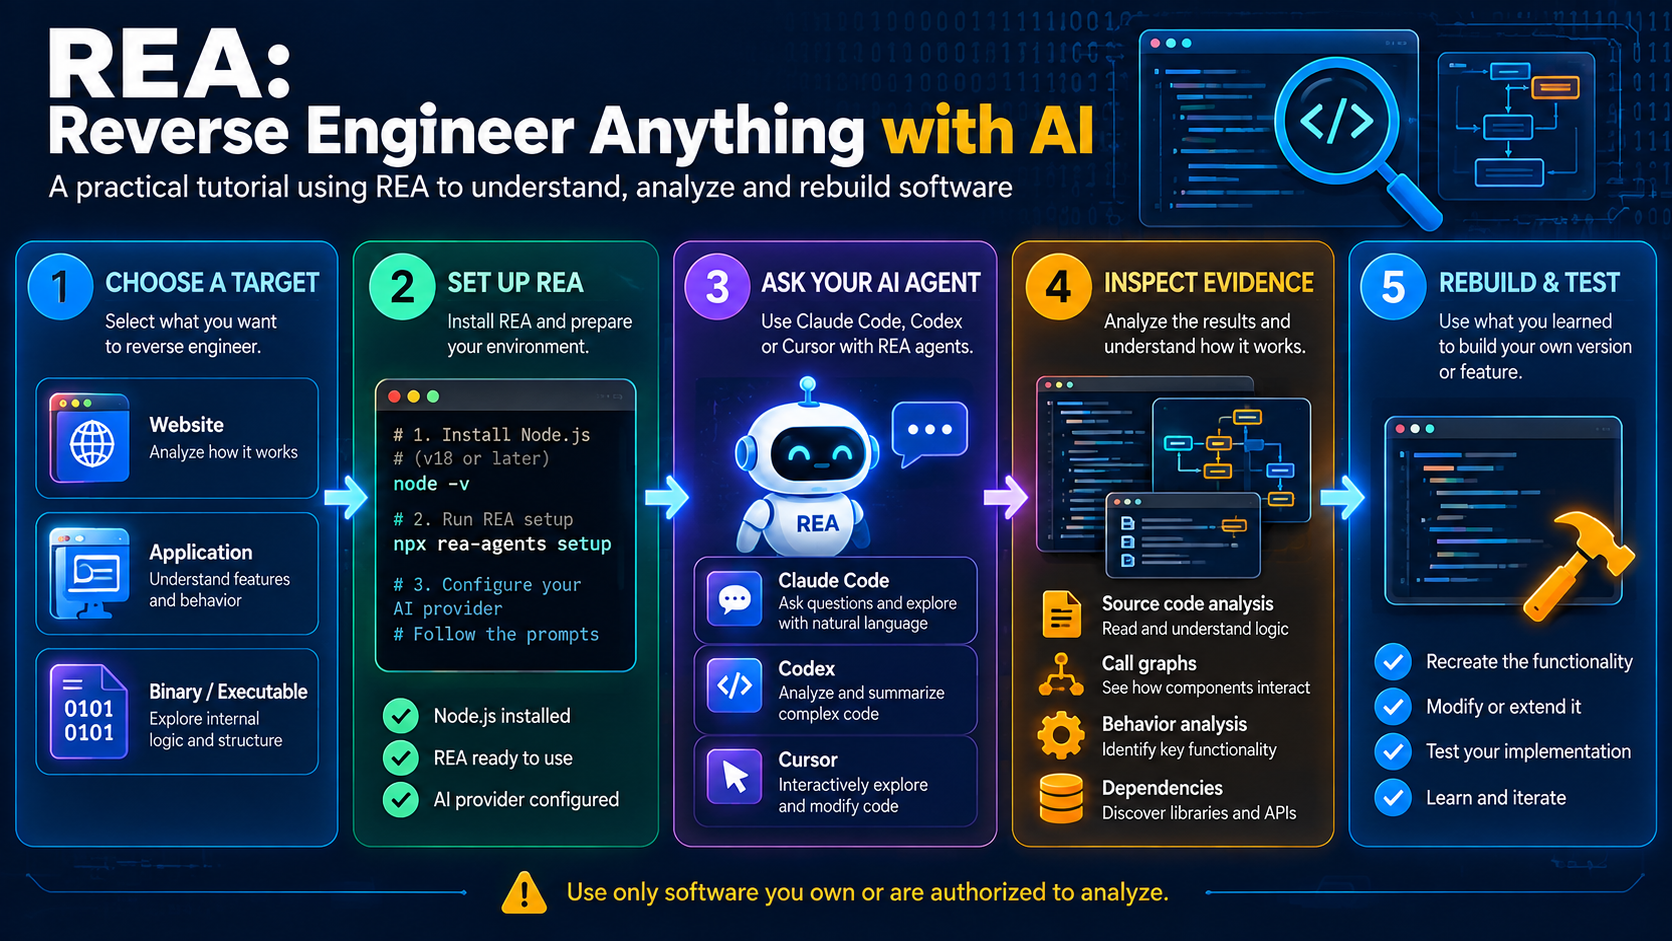
Before installing REA, prepare the following:
- Node.js and npm: Required for the recommended npm-based setup.
- A supported AI coding agent: Choose an agent listed in the project’s current documentation.
- A target application: Start with a small project or software you own and are authorized to analyze.
- Native analysis tools, when required: Depending on your target and operating system, native analysis may use tools such as Hopper, Ghidra, or IDA. Some JavaScript analysis workflows do not require a native analysis engine.
Check the official documentation for supported operating systems, prerequisites, and current compatibility.
Official project: https://github.com/morluto/rea
Step 1: Install REA
The recommended setup command is:
npx rea-agents setupThis launches the REA setup process. Follow its prompts to choose supported AI agents and configure the integration.
Review the proposed configuration changes before approving them. The setup process is designed to show the changes and back up existing configuration before applying updates.
For a more permanent command-line installation, you can also install the package globally:
npm install --global rea-agentsThen run the setup command:
rea setupUse the installation method and commands documented by the official project for your current version. Avoid downloading similarly named repositories or installers from unverified sources.
Step 2: Connect Your AI Coding Agent
REA connects its capabilities to supported coding agents through MCP and related workflow instructions.
The exact setup varies by agent, but the general process is:
- Run the REA setup command.
- Select the coding agent you want to configure.
- Review the proposed MCP registration and workflow changes.
- Approve the changes you understand and want to apply.
- Restart the coding agent if requested.
- Ask the agent to verify that REA is available.
If the agent cannot access REA, check its MCP configuration, restart it, and review the installation documentation for troubleshooting steps.
Do not assume that an agent is connected just because the installation command completed successfully.
Step 3: Choose a Target to Investigate
For your first experiment, use a simple application that you own or have explicit permission to analyze.
Suitable beginner targets include:
- A small JavaScript project.
- An Electron application you developed.
- A test website or web application.
- An application binary you are authorized to inspect.
Start with one feature rather than trying to understand an entire complex application at once.
For example, you might investigate how a notes application searches saved entries, how a dashboard loads its data, or how a settings page persists user preferences.
A narrow question helps the agent focus its analysis and makes it easier to verify the findings.
Step 4: Run Your First REA Investigation
Once REA is configured, open your supported coding agent and give it a clear request.
Try this prompt:
Use REA to investigate how the search feature works
in this application.

1. Identify the relevant components and entry points.
2. Trace the execution flow for a search request.
3. Identify the important functions, dependencies,
   and data structures.
4. Show the evidence for each major conclusion.
5. Explain any uncertainty or missing information.
6. Summarize the feature's architecture.
7. Do not modify the target application.
This prompt asks the agent to investigate before making changes. That separation is useful because you can review the findings before deciding how to implement anything.
Depending on the target, REA may use analysis tools to inspect application structure, identify relevant functions, follow references, or reconstruct code that helps explain the behavior.
Review the output carefully. Look for specific functions, relationships, and evidence rather than accepting a plausible-sounding explanation without verification.
Step 5: Understand the Evidence
A useful investigation should help answer three questions:
What did the tool observe?
This may include strings, function names, source files, dependencies, call relationships, or other artifacts obtained during analysis.
What does the evidence suggest?
The agent may use the observations to explain how a feature operates, which components interact, or where particular data is processed.
What remains uncertain?
Static analysis cannot always establish actual runtime behavior. Some conclusions may require executing the application, observing its behavior, or inspecting additional code.
Keep these distinctions clear. An observed function call is evidence; an explanation of what the complete feature does may still be an inference.
Step 6: Turn the Findings Into Your Own Feature
After reviewing the analysis, ask the AI agent to implement a comparable feature in your own project.
For example:
Based on the verified findings from the investigation,
implement a similar search feature in my project.

Requirements:
- Use TypeScript.
- Keep the search logic separate from the UI.
- Handle empty queries and missing results.
- Add appropriate error handling.
- Write unit tests for the main cases.
- Explain which design decisions are based on evidence
  and which are new implementation choices.

Do not copy proprietary code, credentials, or private data.
Build an independent implementation for my project.
The distinction matters: REA helps investigate and explain software, while the coding agent uses those findings to develop the new implementation.
The resulting code should fit your project’s architecture, dependencies, licensing obligations, and security requirements. It should also be tested independently rather than assumed to be correct because the reverse-engineering analysis looked convincing.
Step 7: Inspect JavaScript or Electron Applications
JavaScript and Electron applications can be useful starting points because their packaged resources may expose recognizable source files, modules, imports, and application boundaries.
For an extracted JavaScript or Electron application directory, the project’s documented CLI workflow includes a command in this form:
npx -y rea-agents@latest analyze-javascript-application /absolute/path/to/app --jsonReplace /absolute/path/to/app with the actual path to your authorized target. On Windows, use the appropriate absolute path for your environment.
The output can help identify modules, imports, and Electron boundaries. The exact available information depends on how the application was packaged and what resources are present.
For the latest supported commands and output options, consult the official repository rather than relying on an old tutorial or copied command.
Step 8: Investigate Native Binaries
Native applications can require a different analysis workflow from JavaScript projects.
Depending on the supported platform and REA configuration, native analysis may use a compatible tool such as Hopper, Ghidra, or IDA.
A typical investigation may involve:
- Opening and identifying the binary.
- Reviewing its structure and available symbols.
- Searching for relevant strings or functions.
- Following references to understand how functions connect.
- Examining decompiled code or assembly where available.
- Recording evidence and identifying unresolved questions.
Native analysis can be more complex than inspecting an ordinary web application. Symbols may be missing, code may be optimized, and some behavior may depend on runtime state or external services.
Start with a small, authorized sample and confirm that your selected analysis engine is supported before moving to more complicated targets.
Step 9: Troubleshoot Common REA Setup Problems
REA is not available in the coding agent
Confirm that setup completed, that the correct agent was selected, and that the MCP configuration was applied. Restart the agent and follow the official connection-verification steps.
Node.js or npm commands fail
Check that Node.js and npm are installed and available on your command-line PATH. Use a version supported by the current REA documentation.
Native analysis does not work
Confirm that the required analysis engine is installed and configured for the target platform. A successful REA installation does not mean every optional native-analysis backend is ready.
The agent produces incomplete findings
Narrow the question, select a specific feature, and ask for the evidence behind each conclusion. Some applications require multiple investigation steps before their behavior becomes clear.
Results do not match the running application
Distinguish static findings from runtime observations. Reproduce the behavior in a controlled environment, check relevant inputs and dependencies, and revise conclusions that are not supported by the evidence.
Commands differ from an older tutorial
REA is actively developed, and installation commands or supported features may change. Consult the current official documentation and release notes before reusing older instructions.
Best Practices for Using REA
- Start small: Investigate one feature at a time.
- Ask evidence-focused questions: Request the relevant functions, dependencies, and observations.
- Keep analysis separate from implementation: Review the findings before asking the agent to edit your project.
- Validate the result: Use tests, debugging, and independent review.
- Protect sensitive data: Do not expose production credentials, private customer data, or confidential material unnecessarily.
- Respect permissions and licensing: Analyze only software you are authorized to examine and follow applicable legal and contractual requirements.
- Keep the tooling current: Check the official project for updated setup instructions and supported capabilities.
Is REA Worth Trying?
REA is worth exploring if you regularly work with unfamiliar software, need to understand complex application behavior, or want an AI coding agent to assist with structured reverse-engineering investigations.
Its biggest advantage is the workflow: investigate a target, examine the evidence, build an explanation, and then use that understanding to implement and test your own feature.
It does not remove the need for technical judgment. The quality of the result depends on the target, the available analysis tools, the questions you ask, and how thoroughly you validate the findings.
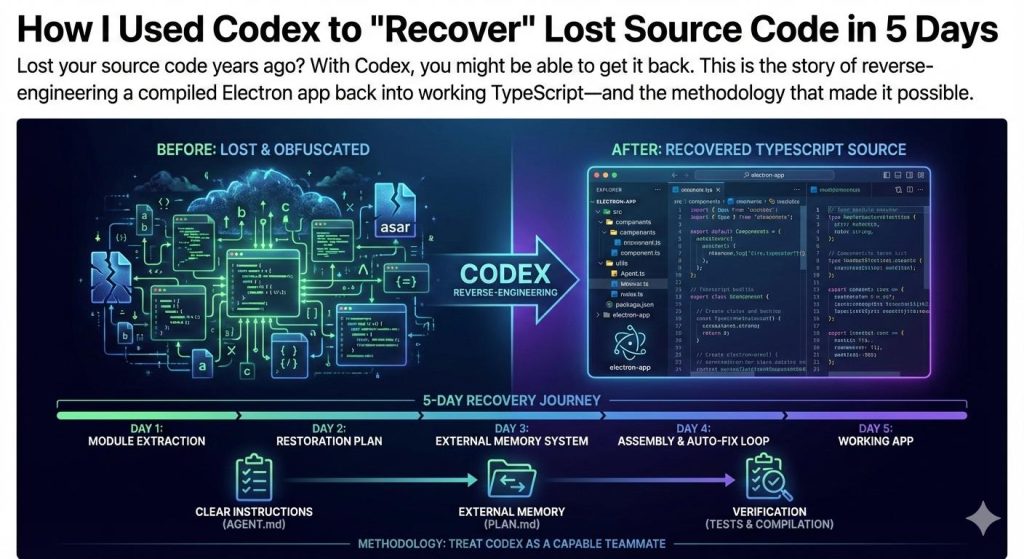
For developers who already use AI coding assistants, REA offers a way to move beyond guessing how software works and toward a more systematic, evidence-based process.
Final Thoughts
Reverse engineering has traditionally required developers to combine multiple tools and manually connect the clues they uncover. REA aims to make that process more approachable by connecting reverse-engineering capabilities with AI coding agents.
Start with a small application you own, ask the agent to investigate a specific feature, verify the evidence, and use the results to build an independent implementation. This is the most practical way to learn what REA can do and where human review remains essential.
Get started: https://github.com/morluto/rea
Always verify the latest installation instructions and supported capabilities in the official project documentation.